
Shopify Plus Install Instructions
Congratulations on installing Spresso!
You’re almost ready to get started! Now that you’ve installed Spresso’s Shopify App, you have to make only a few small tweaks to your theme to ensure our AI-generated pricing is displayed on your site.
At a high level - you will be replacing the static prices from your Shopify catalog with placeholders that help Spresso’s technology determine the right price for each item. NOTE: Spresso will not work without these changes.
If you have any questions or concerns about this process, don’t hesitate to reach out to us at [email protected] - our team of Shopify experts will gladly assist you with any issues you may have.
If you have a theme that's not based on Dawn, or you use Shopify in headless mode, please reach out to us at [email protected].
Average time of completion is 2 days.
Prerequisites
- Spresso requires Shopify Plus for our system to operate.
- The default Spresso installation is not compatible with Dynamic Checkout Buttons. If you rely on them, don't hesitate to reach out to us at [email protected] and we can help customize your site's JavaScript code to make them work.
1. Modify price displays:
Modify how your Shopify storefront displays prices. You have to add markers to your DOM, letting our SDK know which products are displayed on a page. We use a MutationObserver to find these markers on your website and automatically insert the AI-generated prices wherever they are needed.
1a. Update the price HTML
a. In your theme editor find price.liquid.
b. Find the HTML <span class="price-item price-item--regular">{{ money_price }}</span>.
c. Replace that span with the following HTML.
<span class="price-item price-item--regular"
data-spresso-item-id="{{ target.id }}"
{%- if use_variant %} data-spresso-item-type="variant-id" {% else %} data-spresso-item-type="product-id" {% endif %}
data-spresso-pricing-display="min"
data-spresso-fallback-id="{{ target.id }}"
{%- unless target.available %} data-spresso-oos {%- endunless %}
{%- if context == 'pdp' %} data-spresso-price-context='pdp'{% endif %}
>
</span>
1b. Identify PDP vs Gallery views
a. Let our AI know if the price is displayed in the context of a PDP or a gallery (those are weighted differently).
b. In your theme editor find main-product.liquid.
c. Find the render 'price section.
d. Add context: 'pdp' to the JSON.
2. Modify Add to Cart functionality:
Make sure the Spresso price is added to cart, not the Shopify price.
a. In your theme editor, find product-form.js.
b. Find the function onSubmitHandler(evt) {.
c. Prefix the term async before that - indicating to the code that this function is making a network request.
After your change, the code should look like this: async onSubmitHandler(evt) {
d. Add the following Spresso JS code just before the line config.body = formData;.
try {
    await window.Spresso.handleAddToCart({formData});
} catch (ignored) {}
That will update the formData object with the appropriate Spresso price. We use a 256-bit Message Authentication Code to ensure tamper-resistance.
3. Add our JS to your theme:
Ensure our JavaScript SDK is configured on your website. We use an App Embed to install our code, and it must be enabled before Spresso prices are displayed.
a. Navigate to App Embeds in your theme editor
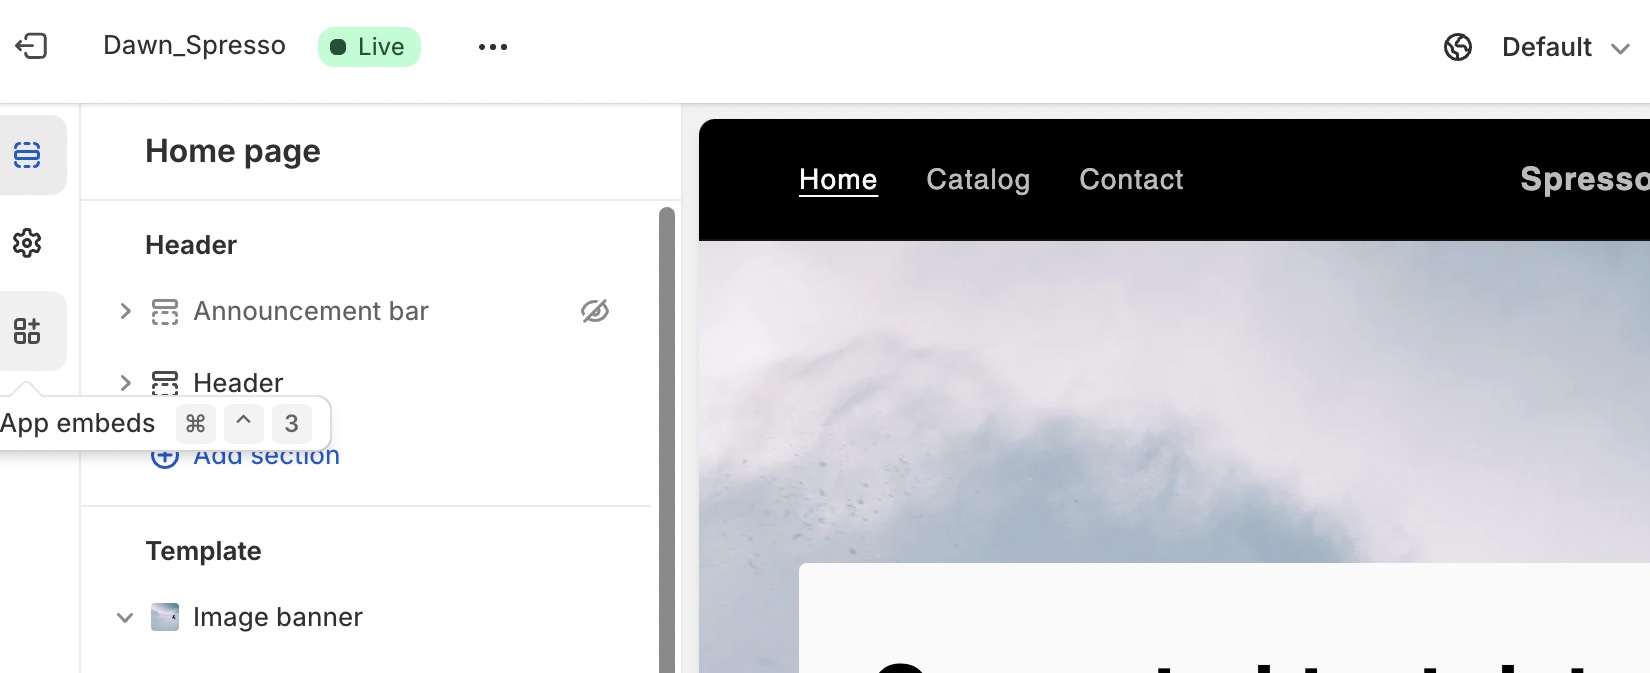
b. Find the Spresso SDK section and toggle the switch to enabled.
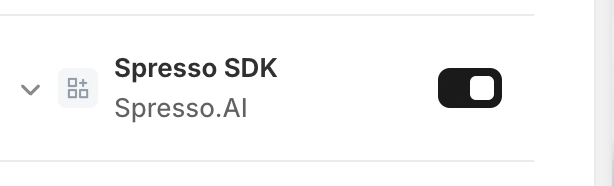
c. Click Save on the top right to ensure your changes are persisted.
4. Lastly account for any other locations that show pricing:
Some common places where people might show prices are:
- Transactional emails like the order invoice or abandoned cart email.
- Printable order confirmations.
- Pages in the "My Account" section of your website.
If you show prices in any of these locations, without customization, it might end up being different than the price the user sees when you install Spresso. Contact us at [email protected] - for tips and best practices on how to handle these scenarios.
Updated 22 days ago